The Kobernik Micro Go Trailer Page This is a quick video of the finished trailer.

| The Kobernik Micro Go Trailer Page This is a quick video of the finished trailer. |
||
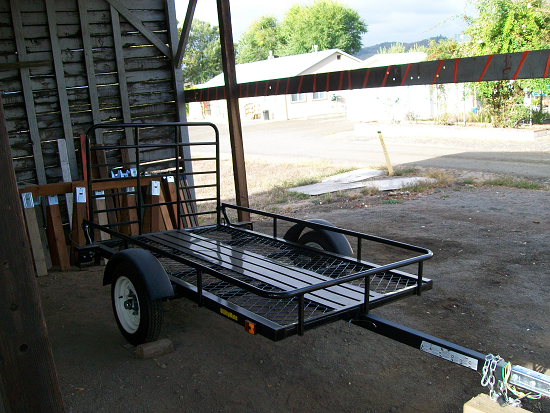
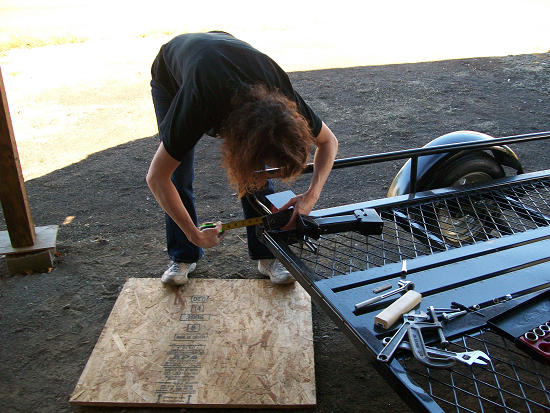
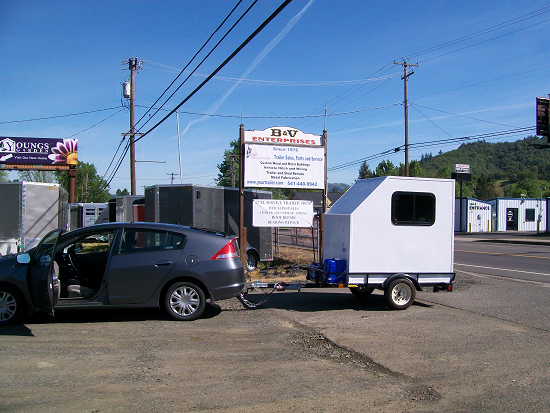
| I looked at many pictures and webpages of teardrops and campers. I considered the size of my car and the desired weight of the final trailer. At the time of this build, research showed if the trailer is over 1500lb, had permanent cooking, and was over 66" then it had to be licensed as a camper trailer. I didn't want to do that, and I planned it for just me for most trips. I finally decided to buy a 4X7 trailer from B&V Enterprises in Roseburg. That allowed space in front for batteries (out of the cabin) and other items. I hit my target goal of 1000lbs loaded and it pulls behind my car great. It works hard on hills, but that was expected as it is a small engine to start with. If you have more power, 5X7 for the box would be preferrable for most people. I mocked up a cardboard trailer to make sure the sleeping bench, cabinets, and dimensions were livable. I don't intend to sit in it like a hermit so I think the dimensions worked out fine for me. I can read in the rain and look out the windows, or I can sit outside and enjoy the outdoors. |
|
|
| The trailer was a tilt bed and had no tongue stand, so that was the first addition. We had one in the shop and my husband put it on the trailer. |
|
|
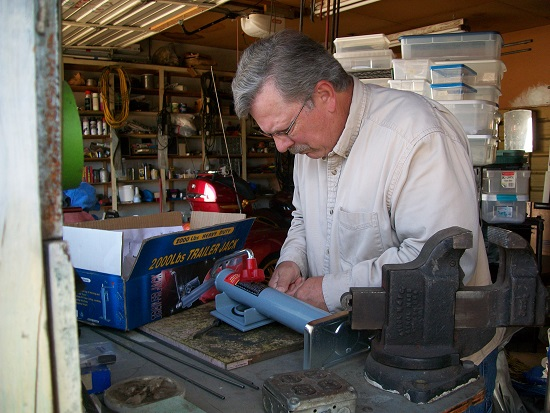
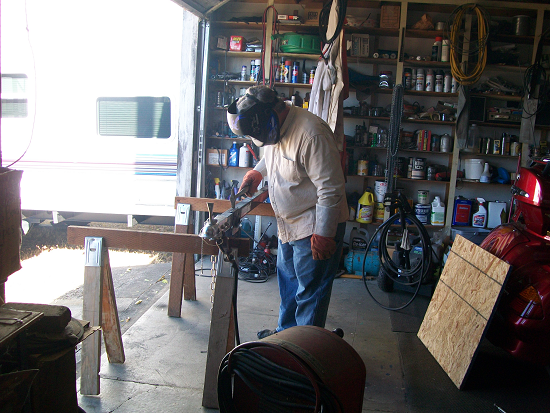
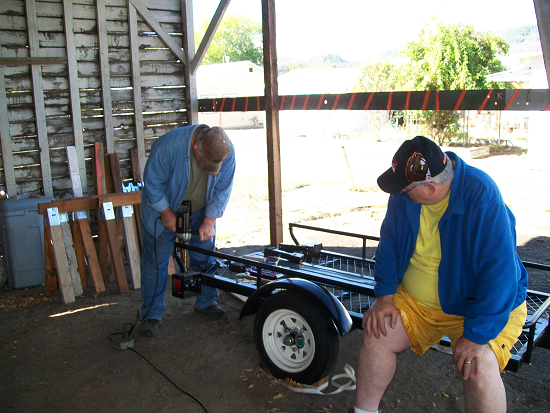
| My husband has welded for years. He welded the tongue jack on. We found out later it was a little too big for the trailer to be level, so measure how tall you need the tongue before welding on the tongue jack. |
|
|
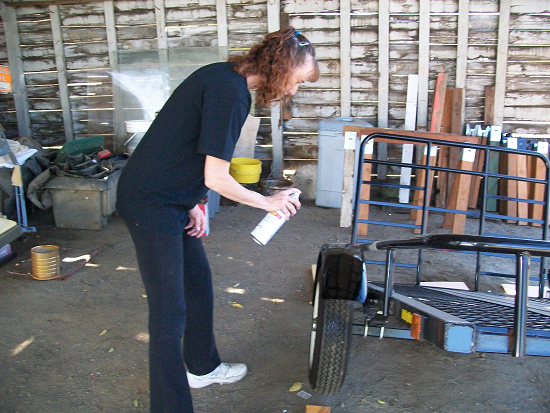
| Had to touch up and freshen some paint. Don't want any rust so I used Rustoleum. |
|
|
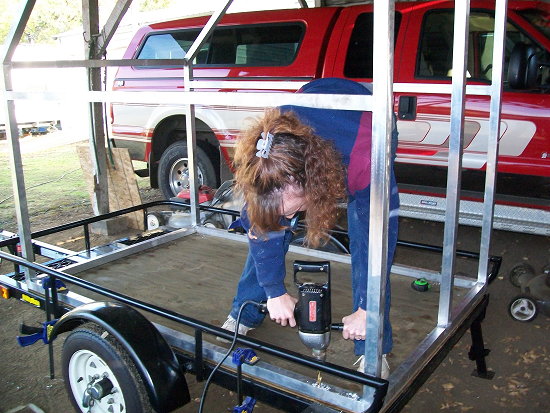
| After the tongue jack, it needed jack stabilizers in the back. Thanks to ebay. Very nice stabilizers, but they are a little stiff to work at first. Hopefully they will break in. |
|
|
| Drilling the holes for the stabilizer jacks. |
|
|
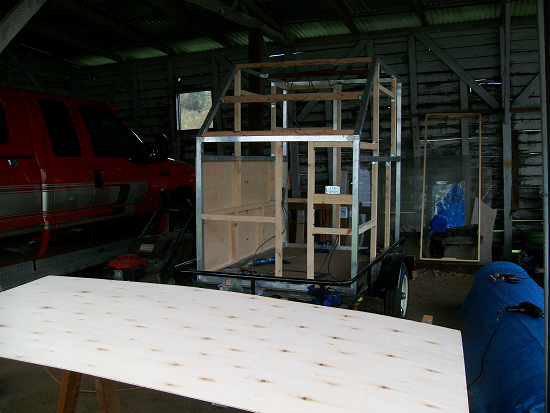
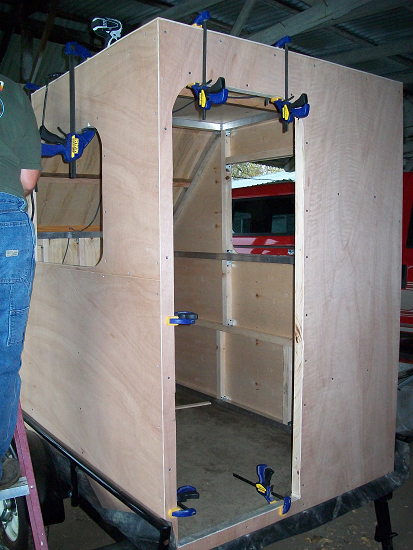
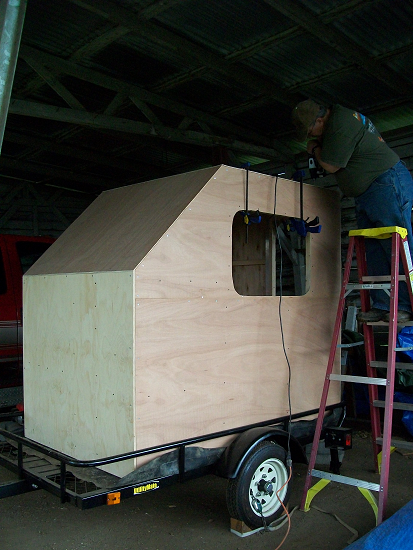
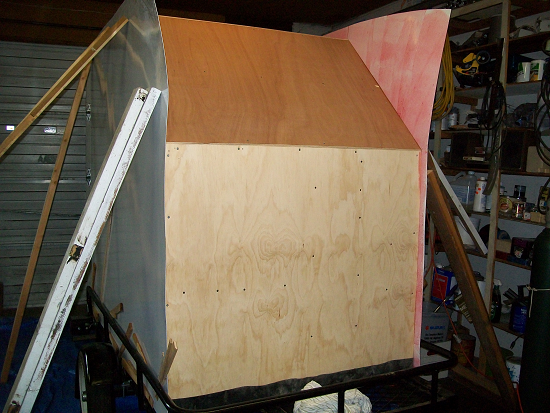
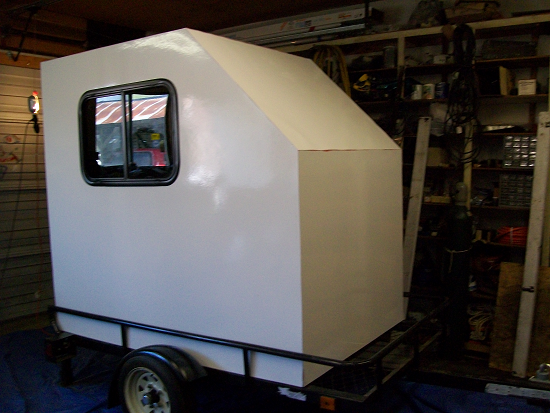
| Special delivery from relatives. They picked up the aluminum frame from CK Manufacturing in Salem. I drew many pictures and they cut, welded, and polished it all perfectly. Exactly what I wanted. I could have gone with wood, but I wanted the stability of metal for the outside frame. The windows sit on the cross beams and the door attached to the metal also. I chose to use flat sides to make siding easier. I wanted a teardrop idea, but didn't like the outer galley. I will put a coffee maker or hot plate on the counter if I want. All other cooking will be on a table outside just like camping. I made a diagonal front to reduce wind drag. |
|
|
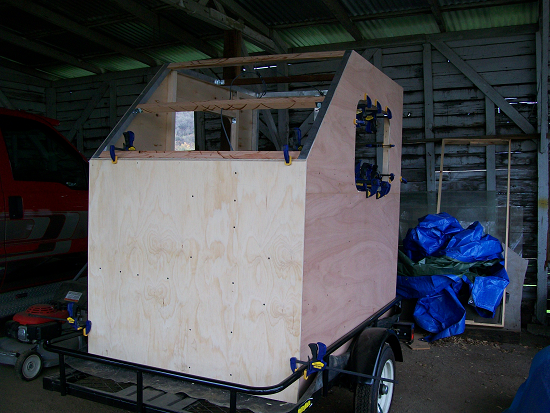
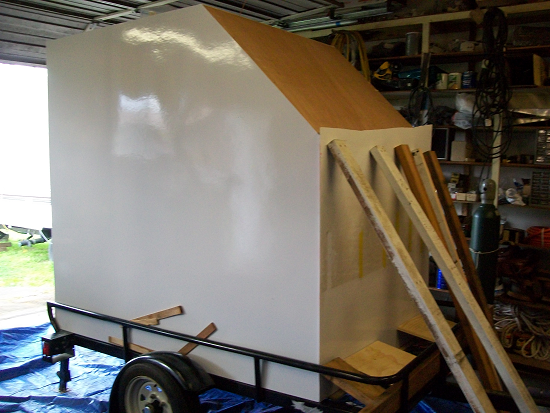
| Along with the frame, they brought materials from Advanced RV, also in Salem. Great people to work with. They explained all the glue, silicon, molding, sticky tape, and Filon siding processes. The filon came in a big roll. It was easier to use than I thought. Made a nice siding. I thought the roof would be rubber. Bought that and then didn't need it. The filon made a good roof and will hold up better than the rubber roofing. |
|
|
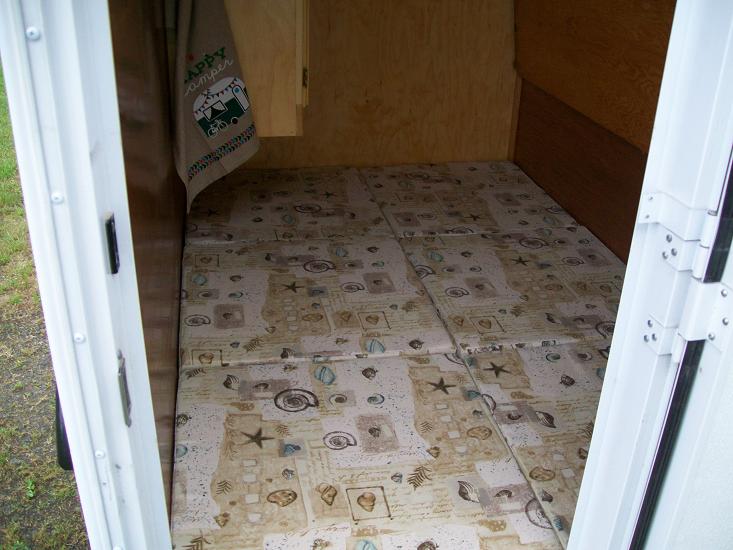
| Mounted the frame to the trailer. The floor was a hard decision. I had extra rubber from a pond I took out. I made two layers of rubber and plywood. The first layer evened out the floor of the trailer bed. The second provided more water protection. Maybe overkill, but I had trouble with water in my toy hauler. The floor won't be rotting out from road water. I will put in linoleum and then a scrap of carpet. I want to be comfy, but I also want resistance to weather. I will roll up the carpet when the weather is bad or not use shoes in the trailer. |
|
|
| This was my least favorite part. I spent a lot of time cleaning up my mess. Kept the hubby happier though. |
|
|
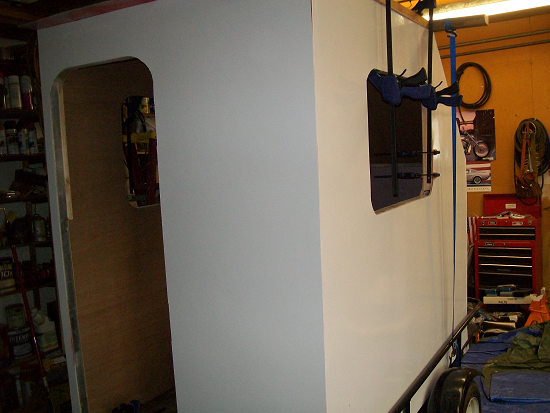
| We put in wooden supports for windows, cabinets, and the sleeping bench. Plans always change, but I should have made the bed frame higher as the hinges actually connected higher than my first thought of using a piano hinge. Then we started putting 1/4 Luann plywood on the outside. The 1/4 was sturdier and the Luann is supposed to work better to glue the Filon siding to. |
|
|
| Lots of Luann and screws. Some screws were for wood and some for the aluminum frame. They were counter sunk a little so the Filon covered it fine. I chose to glue it to the supports as well. Concerned for the tongue weight when I was finished I used a 1/2inch sheet of plywood for the front inside and out to add more weight. It was a good thing as I still had no tongue weight when I was finished. |
|
|
|
|
||
|
|
||
| Window openings were cut before mounting. The corner's were very difficult as they had to be just right. |
|
|
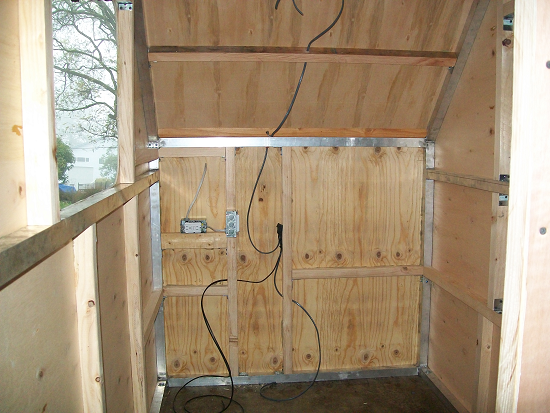
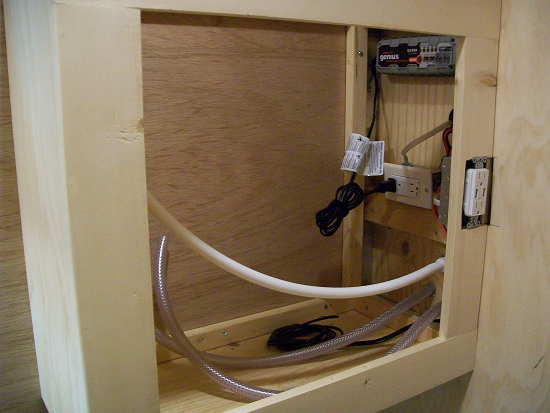
| I planned the dc and ac power. I wished it to run off the dc mainly. I then wanted a charger for charging the battery. I also wanted a plug in for coffee, phone chargers, extra light, a heater, or skillet possibly. I went minimal with two dc led lights off Ebay. Everything else is under the sink counter. |
|
|
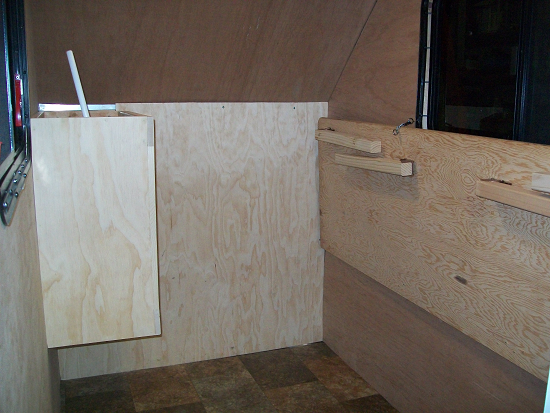
| I used rigid foam insulation. I wanted it to stay and provide something to glue to for the inner paneling. We used 1/8 in Luann for the inner walls. I expected to leave the walls wood and varethane them so I wanted nice wood. |
|
|
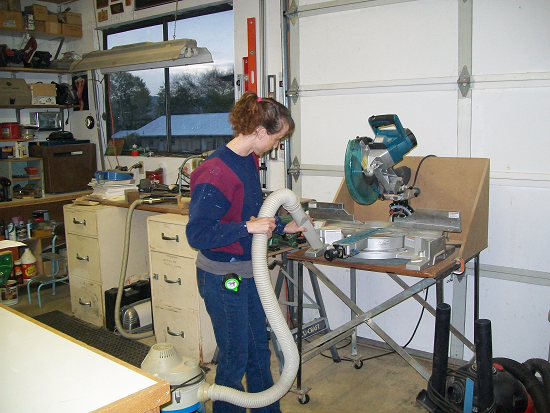
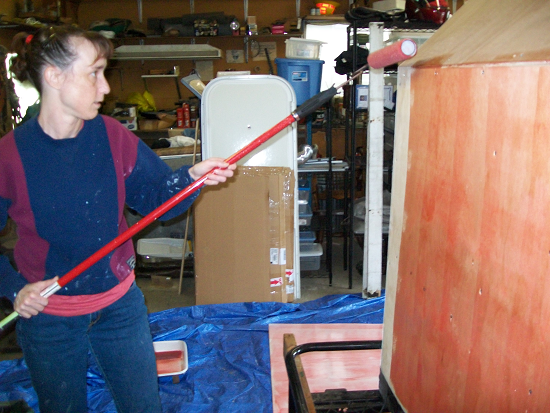
| We had to put on the siding and let it dry before trimming and glueing the next peice. So we decided to use a roller instead of spraying. |
|
|
|
|
||
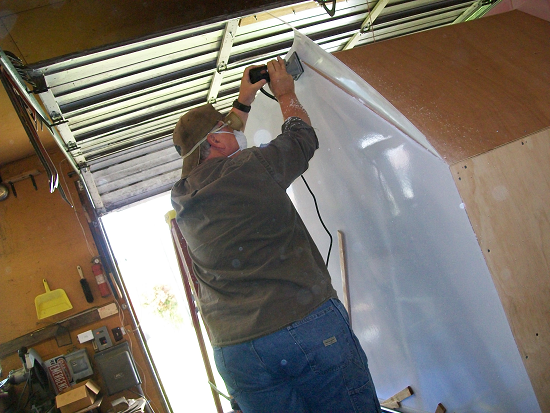
| Then trimming with a laminate trimmer. Worked great except the diagonals. The windows were also tricky because the laminate trimmer wanted to trim the windows too. |
|
|
|
|
||
|
|
||
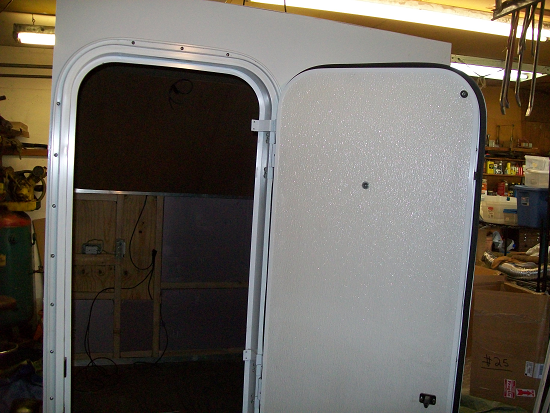
| Windows and doors are a huge consideration. I looked, searched, cussed, and finally went with ebay. I was very happy with my purchases. The door was 70 inches to start. I had to trim it down. Not just cut it off though. I had to very carefully follow the original ups and downs for molding and framing. Came out great though. The windows were great. I ordered the door and windows from madisonctrwhsl at ebay. I wanted an emergency window and found another window exactly the same size. Make sure you get the trim rings also. One was too thin for the wall. Mounted fine, but I still have to decide how to make it more attractive in the inside of the trailer. |
|
|
|
|
||
| We then put the molding on. It was 1/4 inch by 1 inch. That didn't work on the bottom edge as it was resting on the frame. We went with flat molding for that. We pressed the sticky tape into the molding and screwed it along the edges. We weren't sure if we should have the screws on the side, but didn't want it on the top. We went with putting it on the side. Hopefully the glue holds well on the top. We will watch for bubbling and make decisions as necessary. |
|
|
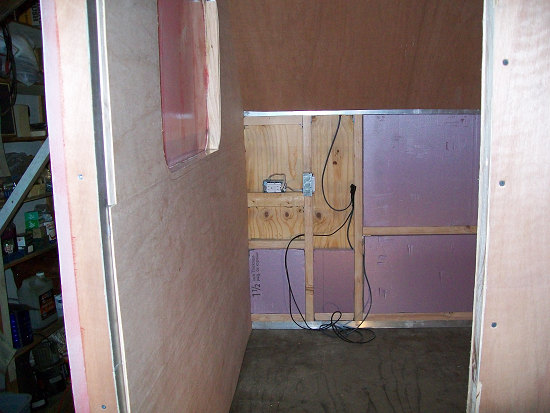
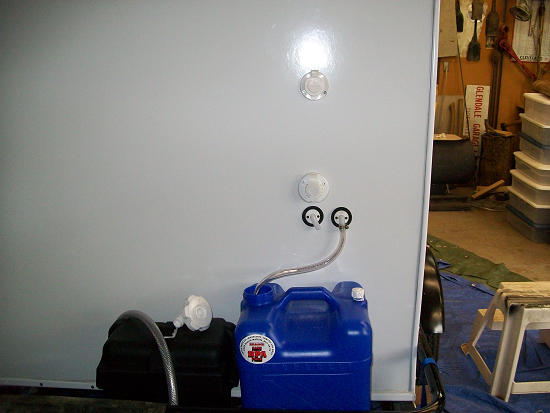
| I was very apprehensive drilling into the walls once I had them looking so nice. But I had to have power and water, so I grabbed the drill. I drilled low for the battery cables in and charger cables out. We started using the lights inside, and they worked well. I put in the 15amp ac plug I bought online. Went easy as the wires were already inside. The gfi worked and I plugged in the charger. It started charging the battery and all is good. I also put in the city water spiggot. That connected to one side of the sink. Expect to run DC to a pump and water bucked for the other faucet handle. Then I can use a water bucket or city water. Have to remember the pressure reducer for my hose in. |
|
|
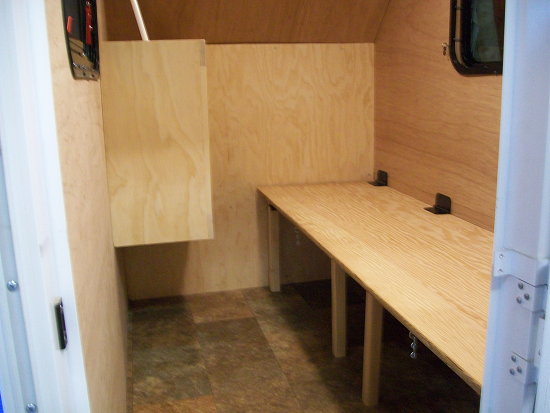
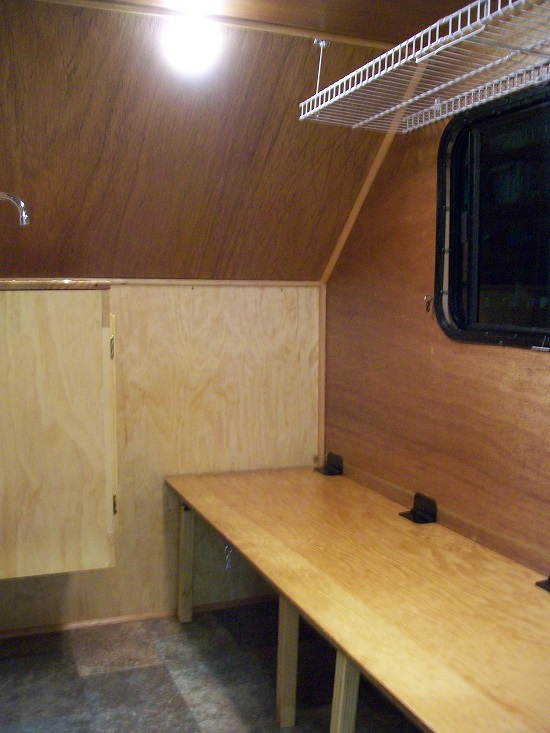
| We built the bench and cabinet. I wanted a sink for washing hands, but not a full kitchen taking up room. The cabinet ended up too small to use with all the hoses under it, but it will have a little space for towels, soaps, and paper plates and utensils. At this time I also decided against the back floating cabinet I planned. It would be in the way for sitting on the bench comfortably. I decided to do short wire shelves above the window on the bench side. The bench is for me to sleep on. If I can convince my husband to go overnight we can flip the bench up and put the cushions on the floor and that was the plan for the floating cabinet. Good for floor storage space too. |
|
|
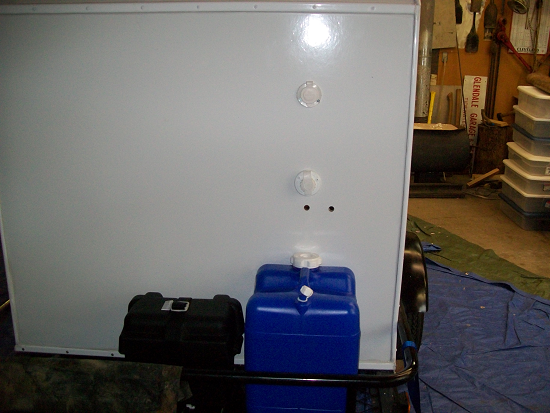
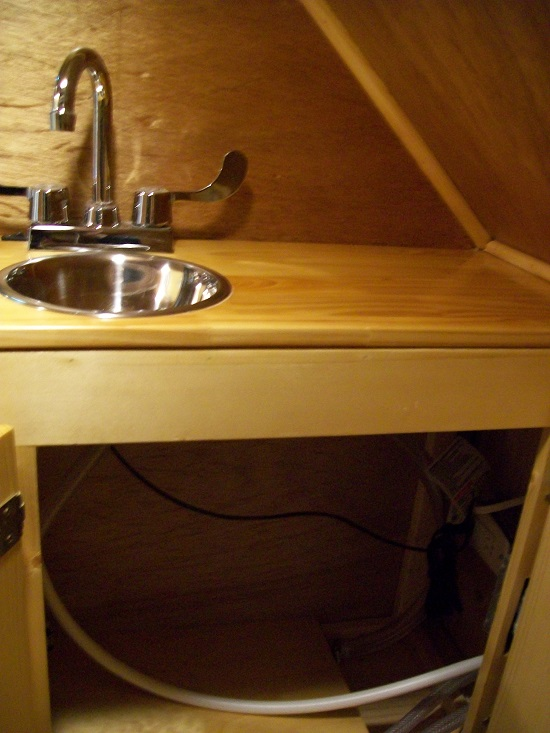
| This is under the sink. The white hose is city water. The gfi is for the charger (visible up top) and the other plug is for use in the trailer. The left hose is for the drain into a grey water bucket outside, and the right is going to the dc water pump from a bucket in front of the trailer. |
|
|
| Bench down. It is 21 inches wide and that will be fine for an overnight trip. If I want more comfort, I can use the floor. |
|
|
| This is a picture of the power and water inlets and outlets. The top is ac in. Below that is city water in. The left tube is dc pumped water in. The right is the drain for the grey water from the sink. |
|
|
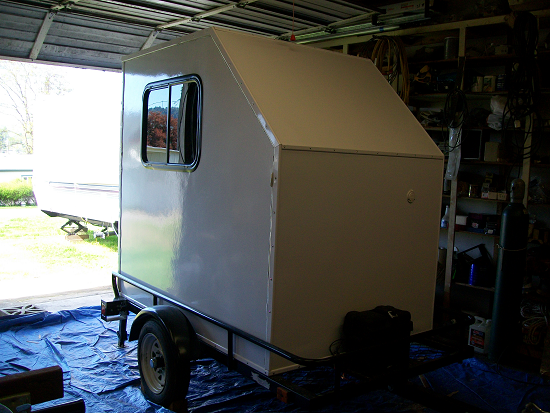
| This is the final picture with the walls varathaned and wire shelf above the window. I had a remenant of carpet from my other trailer so I put that on the floor too. |
|
|
| This is a picture of the sink completed. I used a stainless mixing bowl and put the hole in the bottom. The pump works great and it gets city water too. The sink is a little small so I have to be careful not to turn it on too high. |
|
|
| I finished the cushions and they fit on the bench or on the floor for sleeping. Still don't think my husband will be willing to stay in it. |
|
|
|
| ||
| Here are the costs for all the materials for the trailer. Many could have been cheaper but I wanted a nice finished product. I thought originally of making it bigger and including other items that weren't in the final product. No fridge or heater. This gives some idea of expenses to plan your trailer. | ||
| Disclaimer: While information is as accurate as possible, errors may occur. To be used for informational purposes. Individual contributors are not held accountable for misuse. |